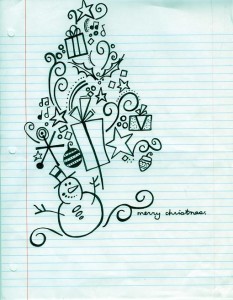
In Part 1 of our “Making a Winning Doodle into a Dazzling Christmas Card Design” series we discussed the scanning process of the original artwork from the scholarship contest. Now we delve further into the process of creating a card.
The original artwork is given a Hi-Res scanning into our system, where a graphics program makes the image nice and crisp. This cleaning process makes the art suitable for reproduction. Once the image is set the production person, or Imager, gets to work.
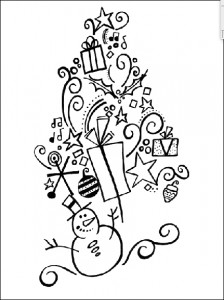
The Imager has many different things to do at this point. Lauren’s artwork needed to be changed to fill space. The original piece was vertical, and the personalized Christmas cards that will feature this design will be both vertical and horizontal. The artwork is proportioned for a horizontal holiday card so that all the aspects of the original design are not lost.
This is Lauren’s artwork after it has been scanned, cleaned and revised.

The image then goes through a separation process. The Imager prepares the file, determining the different colors and finishing techniques to be used on this particular Christmas card design. There are many different options for each piece of art, including ink color choices, die-cutting, foil stamping and foil embossing.
The creative team will gather together and discuss these choices. Everyone will share their insights and give critiques and advice on how they feel the design should look. This creative input helps to make the final design a unique vision for the Gallery Collection and the Christmas card itself a thing of beauty.
The artwork that Lauren submitted to the scholarship contest is coming to fruition through the hard work and creative minds of the Imagers and everyone on the creative team. This design will become personalized holiday cards that Lauren, and everyone at the Gallery Collection, will be very proud of.
Coming up in Part 3, our final installment, we’ll share how the final decisions on colors, foils and the appearance of the card as a whole are made. You won’t want to miss this!

